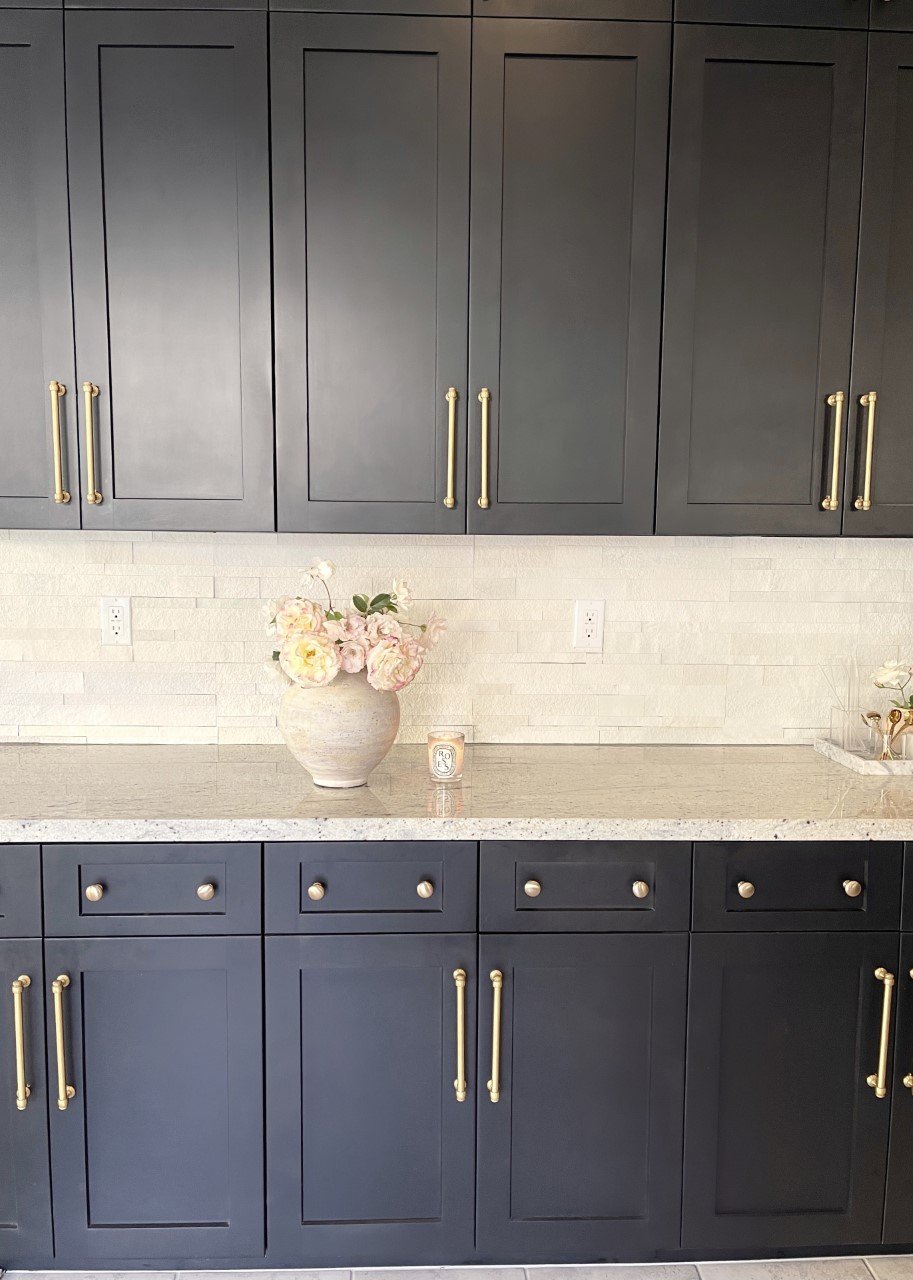
Kitchen Backsplash & Pulls Update
As you all might have seen, we sold our home in Seattle, packed our shi* and moved to CALIFORNIA! I’ve always dreamed of warmer weather, year-round sunshine, and my ultimate home goal is to have a spanish/mediterranean style home. So while we search for our dream home and figure out exactly where we want to settle down, we will be renting! We are starting our diy/renter-friendly update journey with peel & stick backsplash tiles. Im quite pleased with the way it turned out, but I will say that cutting through the tile with shears was a pain in the ass. We ended up having to buy a dremel to cut through the thick parts of the tile. All in all, it completely transformed the kitchen and it now feels more “me”!
One tip however is I wish we had started from the bottom upwards - this would have ensured the bottom of the backsplash maintained a straight appearance - instead, we started from the top and worked our way down. This meant the bottom pieces had to be cut with the dremel to fit into the remaining surface area. Whenever something is manually cut, it will never be as straight as it was out of the box! We spent quite a bit of time making it “look” straight. My advice would definitely be to start from the bottom up. Because the cabinets hide the top of the backsplash, it wont fully matter if the very top of the backplash is perfectly straight.


